Window coverings can be expensive, and if your apartment does not have any, or has ugly ones, we have an idea for a DIY window shade you might consider to spiff up your apartment with colorful fabrics of your own choosing. If you are really crafty and creative, we are sure you can take these ideas and run with them, and do something even better than the example we show in this blog post.
The idea is pretty low-tech. No springs to malfunction, no pull strings to fray or break or get jammed in some mechanism. And no need for complicated installation instructions! On the positive side, you can choose fabric colors and designs that fit your tastes and creativity.
Here are the seven steps you need. If you are like many of us, you can pretty much just look at the pictures to get the idea, but the words are here too, to help clarify any questions you might have.
STEP 1: Understand the design idea
You are going to cut your chosen fabric big enough to cover the window. In this photo, you see fabric covering a French door on the outside. But the same idea can be used for any interior window.
The top and the bottom of the fabric will be sewn into long loops, so that dowel rods can run through both loops. Like this:
Then you hang the shade by resting the top dowel on stick-on hooks you can buy at a hardware store. Like this:
OK. That’s the main idea. Here is how to proceed.
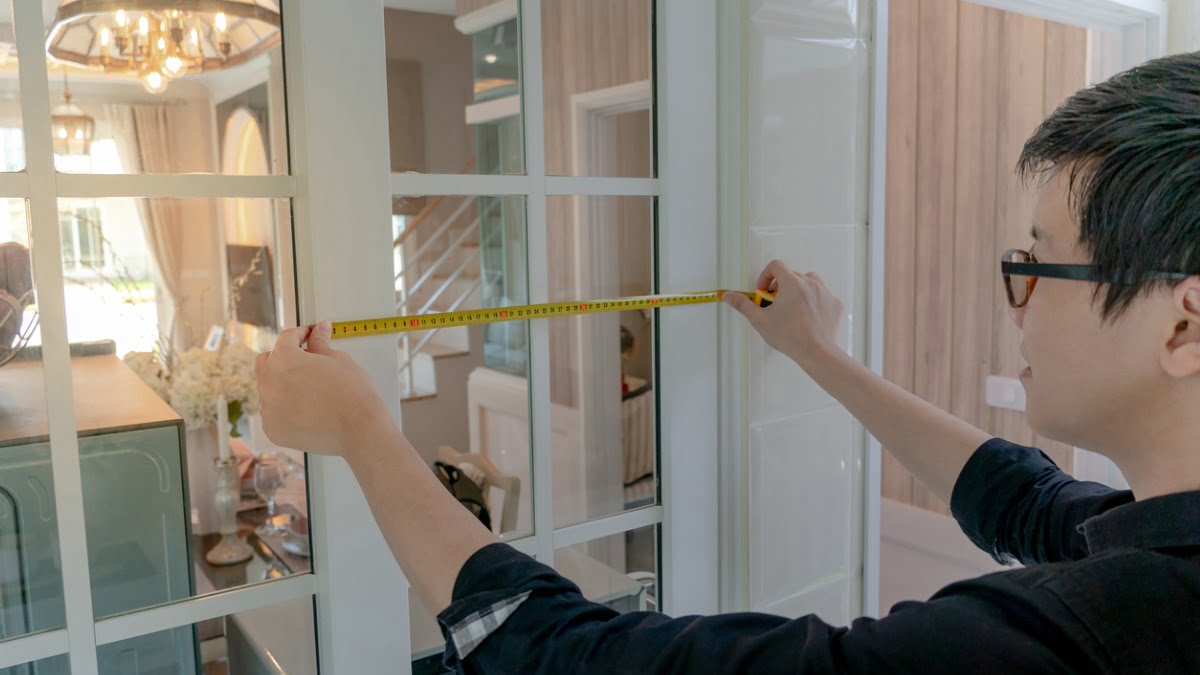
STEP 2: Measure your window
The dimensions will be a guide to how much fabric you will need.
STEP 3: Gather materials
You will need fabric, needle and thread (or a sewing machine!), scissors, dowel sticks, stick-on hooks, loose leaf rings, and a small hand saw. Don’t know what a “loose leaf ring” is? They are sold at stationary supply stores, mainly to hold together papers that have holes punched in them. Anyway, here are photos to show you what they look like. You have probably seem them before.
STEP 4: Prepare the fabric
Cut the fabric to the right size for the particular window, and sew the loops. Make it is wide enough and long enough to cover the whole window, and then some. And make sure there is plenty of fabric top and bottom to make loops that the dowels can run through.
STEP 5: Prepare the dowels
Measure and cut the dowels. Make sure they stick out of th e loops by a couple of inches.
STEP 6: Install hooks and position the dowels
Locate the area at the top of the window where those “extra couple of inches” of dowel can rest and affix them there. Like this:
Voila! The window is covered.
STEP 7: Test the open curtain functionality
Roll up the shade when you want to see out of your DIY window covering.
Here is how.
Hang two loose leaf rings on either side to the top dowel, like this:
When your DIY window covering is rolled up (by hand, not with some crazy string) you stick the lower dowel through loose leaf rings that are hanging down from the top dowel on either side, like this:
There you have it! Most windows are a lot shorter than the French door in these photos, but you get the idea. For more exciting apartment decorating tips, check out our other rental decorating blog posts. Also, don’t be afraid to try your hand at simple household repairs to make your apartment more livable.
Do you have ideas for improvements to this design? That’s great. Let us know what you come up with! Email us.
Excited to start decorating, but haven’t found the right home yet. Find the perfect rental for you at Dwellsy.com.


