In the market to rent your home or property? Before listing your available unit, check out these professional tips which will guarantee that your property photography shines.
INTRODUCTION by Susan Stripling

I remember when I first moved into the apartment that I live in now. As a New Yorker, surfing real estate listings is a common hobby! I would scour through spaces, looking at exposed brick and dreaming of a day that I didn’t have to live in a third-floor walk- up. When it was time to really make the move, my online searches went from a hobby to a time-sensitive job.
What did I see while looking for my new home? I saw many, many spaces that I didn’t even call or inquire about because the photography of the listing was so unprofessional, giving me no sense of what the apartment actually looked like. Was this kitchen small or large? What was this blurry picture of a cabinet all about? Why did the images not show how the rooms flowed together? The listings that I ended up seeing in person featured bright, educational photography that made me feel like I was viewing the space before I even walked in the front door.
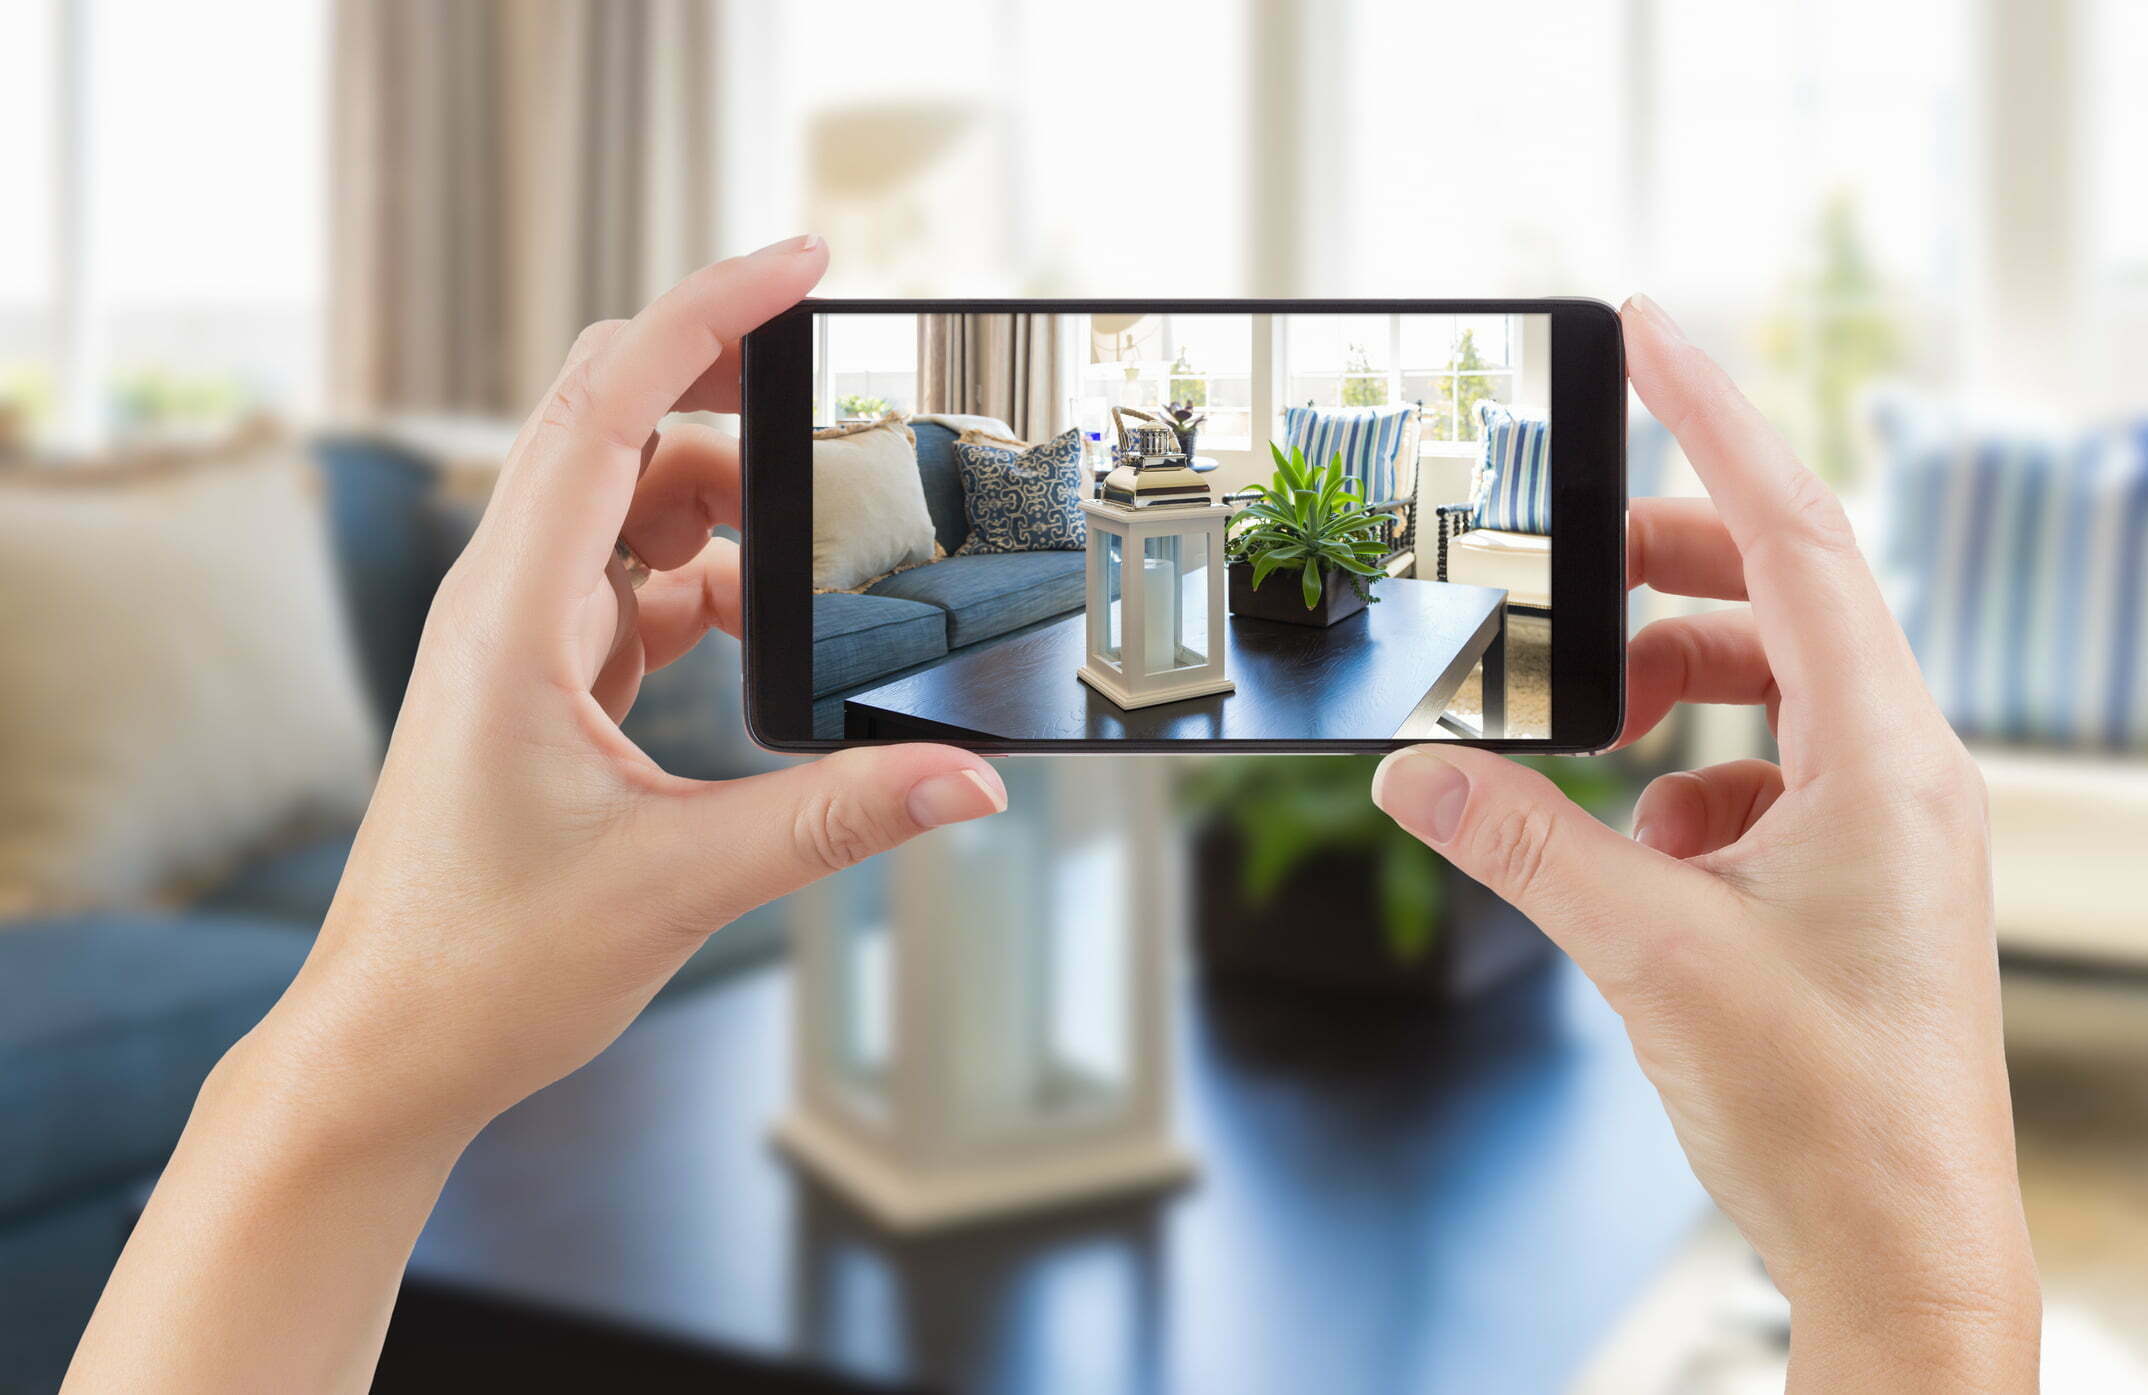
It’s no secret that excellent images help get a property inquired about, viewed, and rented. These days everyone has a smartphone, and many of those newer phones have excellent cameras. Why not take your own real estate photos for your listing?
While smartphone cameras have come a long long way, there are still real estate photography basics that are imperative to learn, no matter what kind of camera you are using.
These following tips will help you make the most of your phone’s camera, and set you on the right path to taking your own images!
CLEAN EVERY ROOM

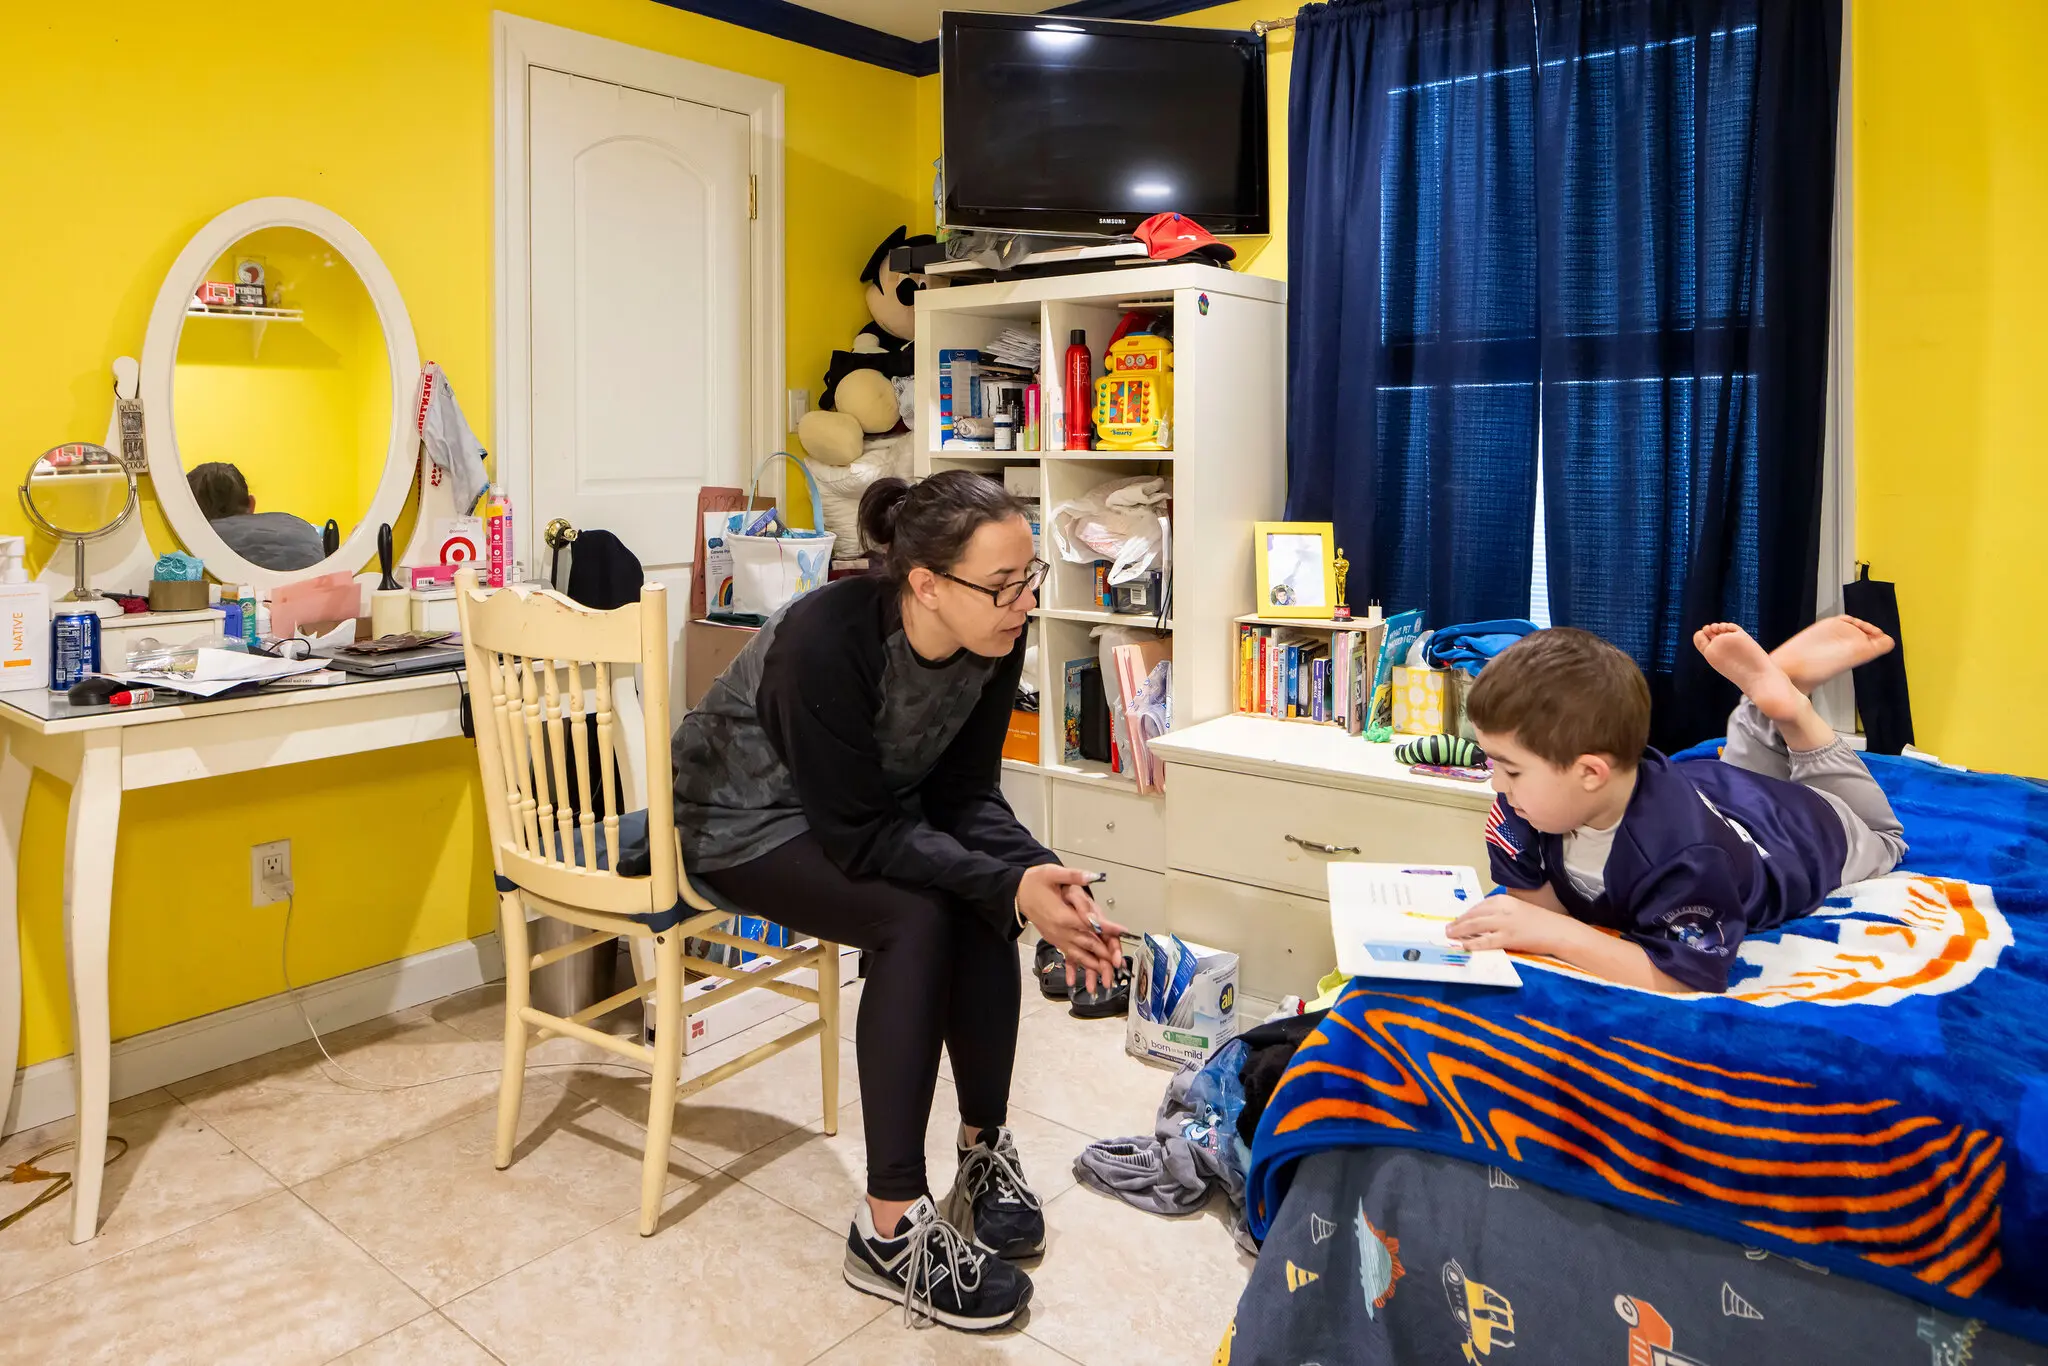
Before you even start with the photography you need to prep your “studio” – in this case, your property! This might not sound like a tip that’s specific to photography, but clutter and distracting items will impair your ability to take clear images that accurately depict your space.
If your space is already empty, great! You won’t have to worry about moving around furniture. If your space is already occupied or furnished, these steps will help once you start taking your pictures.
In the living room, remove everything other than non-essential furniture. This means getting rid of dog beds, shoe racks, coat racks, storage benches, old magazines, and every bit of clutter. Really take the time to look at every single thing in the space and ask yourself “Is this necessary to telling the story of this room?” If not, out it goes!
Then go bedroom by bedroom, office to bathroom. Remove anything that isn’t major furniture or light fixtures. This includes everything from toiletries on countertops to visible open storage. Think of each room as a showroom : only show what is necessary and move out everything else. You can put items temporarily in closets or cabinets, box them up and move them into another room, or even put them in storage.
In the kitchen, take everything off of your countertops to maximize the space. This means microwaves, toasters, blenders, mixers, utensils, soap and sponges next to the sink, drying racks, everything.
Next up, scrub and scrub some more. Clean every countertop, stove burner, appliance, and even the floor. Polish aluminum surfaces until they shine – every bit counts. Once you’ve cleaned your entire space, clean again and again until there are no distracting elements, streaks on furniture or windows, or any blemishes to pull the viewer’s eye away from the space itself.
STAGE YOUR HOME

Not only do you have to make sure it’s immaculately clean and organized, you also need to make your property look inviting and warm.
Some of my favorite staging tips include:
- Put out coordinated towels in the bathroom or remove them entirely. Mismatched or poorly hung towels are distracting and disrupt the eye of the viewer. Dark towels make a room appear darker, white or light towels will brighten up even the smallest of washrooms.
- Set the table in your dining room. Add a centerpiece of flowers, bowl of fruit, or an arrangement of candles.
- If exterior photos are a part of your listing, make sure that you take covers off of hot tubs, pools, and grills. Coil up hoses or put them away entirely. Move cars out of driveways.
- If you have mats or rugs in your spaces, consider removing the smaller ones. A bath mat can make an already small bathroom look smaller, and removing them brightens and widens the space visually.
- If you have shower curtains in your shower, clean the shower extremely well, remove anything on the ledge, and take your images with the curtain open. This will also make the bathroom look larger and more inviting.
- Create appealing vignettes in individual spaces. If your listing has a balcony or deck, set it with a snack and two glasses. The more your viewers can visualize themselves in your unit the better!
THINK WIDE

While your smartphone might have a great option for shooting with a wide angle, most result in images with distorted edges and vertical lines if you’re not careful. That’s not great for showcasing your space in the best way possible. Since it’s crucial that you show rooms in their entirety, you’re going to want to be very strategic with how you angle your images.
The biggest thing to remember here is that if a line is vertical in real life it needs to be vertical in a photograph. This means they need to be parallel, from the edges of door frames to the corners of the walls. The only way to really make this happen is to keep your camera 100% horizontally level. If you aim the camera even a fraction up or down you’ll start to see those vertical lines distorting.
You can absolutely purchase additional lenses for your smartphone to get even wider and correct that perspective. However, these lenses are pricey and often come with additional requirements such as holding cases and mounting equipment. These lenses can also compromise your already limited smartphone exposure capability. But if you are are mindful of the angles and watch those vertical lines, you can avoid distortion!
KEEP IT LEVEL

When you start taking pictures of your space remember to hold your camera horizontally, not vertically. This will allow you to capture as much of the space as possible. Some spaces might require a vertical shot – such as a narrow stairwell – but most open rooms should be photographed horizontally.
To make sure that your images aren’t blurry, you’re going to want to hold your smartphone as steadily as possible.
You can get a good start simply by holding your phone more deliberately. Instead of holding your device out at arms length, as our natural inclination is to do, bring your arms closer to your body and brace your elbows on your midsection or hips. This will give you a great base to start stabilizing your images.
If you really want to make sure that everything stays super level, especially in dark rooms and dim light, consider purchasing an inexpensive smartphone tripod. There are countless numbers of tripods out there online that are lightweight, small, and incredibly portable. You can buy tripods just meant to sit on a tabletop with short legs, or you can find ones with longer legs for more versatility. If you already own a tripod, you can find many options online for tripod heads capable of holding a smartphone.
Another bonus to using a tripod is that you can be hands-off when your smartphone actually takes the picture. When it’s really dark in a room, just tapping on the shutter button can cause your device to shake and your image to be blurred. Use the self- timer on your smartphone to ensure that no hands are on the device when the image is captured!
CONSIDER YOUR ANGLES

Rooms can look very different based on your angles. Even if you’ve mastered being level, consider angles other than just at your eye line.
It’s a widely accepted “fact” that interior shots should be taken from the corners of a room. There is a lot of evidence to support that, including the fact that standing in a corner gives you the greatest distance from the furthest spot in the room. This lets you truly show the space of a room. This works for most rooms, but not all, so experiment. Does your room have a large focal point, such as an island or fixture? Consider photographing from the other side of that element to give depth and dimension to the room.
I suggest photographing each room in several different ways, and shoot it as if you’re a guest entering the room for the first time. What do you see? What catches your eye? Approach the room that way. First, shoot it straight on at eye level. Second, take your shot from the corner of the room so that you can see the entire space. Third, explore other angles. Would one corner work better than another? Would standing behind the dining room table give you a unique vantage point?
Take multiple angles of each room to see what works best for each individual space. Make sure that your vertical lines stay vertical, however! You don’t want to go so avant-garde with your angles that it distorts the natural shape of the room.
Your goal with each image is to convey what it’s like to be in the room to someone who has never been inside your space. Considering sharing your images with a friend of family member who has seen your listing and ask if they accurately depict what the apartment looks like.
TIME TO SHOOT!

Just because you’re working with a smartphone doesn’t mean that basic photography rules are not still in play. There are several things to consider when documenting your home.
First, be mindful of your lighting. Your smartphone comes with a flash, but that flash will only light items close to your lens. This will result in a very bright foreground and an unnaturally dark background. Not only is that not visually appealing, it is misleading when it comes to the actual lighting in each room. Smartphone flashes are simply not strong or capable enough of lighting an indoor room from edge to edge.
To combat this, try to work with as much natural light as possible. Open windows, open doors, turn off distracting overhead lights. Try to schedule your indoor shoot mid-day when the light outside is the brightest, but be mindful of your angles. If the bright sun at 1pm casts a huge shadow on the floor, aim for another time. Check each room at multiple times of day to determine your best shoot hour for each part of your space.
If you really want to use the lights in your room, consider swapping your bulbs for daylight balanced ones. This will better match any light coming in from windows. If you’re not careful with your lighting you can end up with cool window light mixing with orange light fixture light and that’s visually confusing and unappealing.
If it’s dim in your room, the tripod and self-timer trick that I mentioned before will be crucial to capture an exposure without any blur or camera shake!
The tripod will also come in handy when documenting any rooms with a view outside of the window. I suggest taking one image where you tap on the center of the room and let your smartphone create an exposed image where the room itself is properly bright. Then tap on the window without moving or adjusting your smartphone tripod. This will re-adjust the exposure to make your room dark and the view outside of the window will come into view. You can then combine the two images later using an app or Photoshop, resulting in a final image where you can see both the room itself and the view outside.
Keep an eye on any room with reflective surfaces. This includes glass shower doors and walls, mirrors, windows, large kitchen appliances, washers and dryers, and so forth. If your light source is bouncing off of those reflective surfaces you’ll end up with distracting hot, bright spots in your images. You also want to make sure you don’t accidentally appear in any images with mirrors. You’re trying to show off the room, not you in the reflections!
Your smartphone might have the ability to zoom in on your subject, but don’t do it. Your smartphone isn’t like a DSLR camera with a zoom lens. Zooming in your smartphone just crops the image, which will result in a lot of pixelation and blurring.
DON’T FORGET TO GO OUTSIDE

Your listing shouldn’t just include indoor photography, you’re going to want to showcase the property exterior as well.
As mentioned before, much like when taking images indoors, you’ll want to stage your outdoor space as best you can. This includes removing things like garden hoses, trash cans, recycling bins, cars/vehicles, storage bins, and so forth. Make sure your landscaping is fresh and gardening is up to date.
If you can wait for an overcast day to document the exterior, I highly suggest that you do. This will eliminate any harsh shadows, sun glare, or distracting hot spots on your image. If you must shoot during the day, try your best to go outside when you’re not shooting directing into the sun. This can cause flare or bright white spots on your images.
Sunset is a great and forgiving time of day for exterior photography. If the sun is behind you, it will light up your property with a golden glow. But if it’s behind your property it will create a visually appealing sky.
If one of the selling features of your property is the outdoor view, make sure you capture it from outside! And if you are shooting from a balcony or porch, include a sliver of the balcony rail or edge of the porch in your frame. This will indicate to the viewer that they’re seeing that view from a specific location.
APPS AND POST-PRODUCTION

Once your images are complete you’re still going to need to spruce them up before popping them online. Smartphones have very sophisticated cameras now, but the images that come out of them are naturally a bit flat without any tweaking.
There are a few ways you can go about this. You can use an app for your phone, an online service, or a separate photo editing program on your computer.
My favorite photo editing app for my phone is Snapseed. This excellent app has all the basic features that you need for editing such as cropping, white balance, rotating and straightening your perspective, etc. Avoid popular apps like VSCO that allow you to add filters. Instead aim for realistic color and tones. You want your prospective tenant to be able to see exactly what your spaces look like, and not be disappointed when they see the unfiltered reality.
If you want to hire a service to edit your images for you, sites like Box Brownie can enhance your images for you.
However, if you’re really wanting to do the photography work yourself, I highly suggest Adobe Lightroom and/or Photoshop.
These Adobe programs will help you enhance your images to their best final output. You’ll be able to adjust the exposure (brightness) of the photography, make sure the color is balanced properly for each room and looks accurate, and will let you re-straighten tilted images and level out skewed vertical lines. There is a fairly steep learning curve with these programs, so go slow and one step at a time.
IN SUMMARY
Even with all of these tips and tricks, real estate photography is still a difficult thing to master. Since your photos will be a huge driving force in getting your listing viewed, I highly suggest hiring a pro to make sure that you get the best images possible. Your phone is great, but it has limitations:
- The image size of your smartphone photos simply can’t stack up to those of a DSLR camera. The DSLR files will be both larger and of better quality.
- If you want to see both the indoors and outdoors in your images (such as a great view from a window) you’ll need to use a technique called HDR bracketing. Your smartphone, despite the best apps possible, still can’t accomplish that the way a DSLR in the hands of a professional can.
- You can’t manually adjust depth of field or exposure properly with a smartphone. Depth of field is critical to really showing off how large a space is, and that’s not something you can adjust with your phone.
- Smartphones are great with an abundance of natural light, but you’ll need a DSLR to work well in low light conditions. They can perform much better and your final result will be photography with less grain or visible pixels. This means that even the darkest of spaces won’t look gritty!
- The digital files that come from a smartphone can’t compare to the ones from a DSLR in terms of ability to edited afterwards. If you’re working with a DSLR you can shoot in RAW format, giving you even more latitude when correcting color, exposure, crop, or perspective.
A professional photographer will know the correct cameras and lenses to bring, the best angles to shoot from, how to light your space, what time of day will be best, and how to properly edit the photography afterwards. While your smartphone has a great camera – trust me, I use mine all the time! – it can’t compare to a professional setup in the hands of a professional photographer. What the pro can bring to the table is worth the investment, take a huge amount of stress off of your shoulders, and take care of the images so that you can use your time in other ways to best serve your listings.
Need a professional photography? Check out Dwellsy Lightbox!
Dwellsy Lightbox is FREE resource for managers and owners who need great real estate photography and want to find a pro in their area.